
Personnel doors, also known as man doors or walk doors, are field-located doors. This means that they’re not designed into the structural elements of the building, and you’ll get to choose where the doors go once the primary and secondary framing of your building are installed.
Most personnel doors are similar. They’re knock-down kits that take a few minutes to assemble and require nothing more than the tools and know-how you’ve already used to get your building standing. So, let’s take a quick look at how to install a personnel door. If you’d prefer video instructions, check out the YouTube video at the top of the page where we covered the same information.
Installing personnel doors is one of the final steps before sheeting your building with its wall and roof system. So, it’s important to ensure that your building’s frame is completely done before installing man door kits. Any adjustments made to your building’s frame after installing the door could negatively affect the operation of the door. Worse yet, if your building needs major adjustments to get it straight and plumb, you could wind up with a door that won’t open or close at all.

If your building has a low girt that is in the way of your door, you’ll first need to remove it. This girt will be cut and reinstalled later. If your building does not have a low girt, you can proceed to deciding your door’s placement to begin the installation.
When deciding on where your door should go, it’s important to keep a few things in mind. Measuring from the corner of the building, it’s best to keep your door spaced on whole feet where possible. This is because the high ribs on your wall panels are on one-foot centers, and it’ll make trimming and fitting the panels cleaner and neater around the door system.
It’s also important to plan ahead for what is going inside the building and where your door or doors won’t be in the way. Keeping them close to corners typically ensures the most usable interior space, but we typically do not recommend putting them any closer than three feet from the corner to allow adequate room for installing all of the door components.

Now that you’ve decided where your door is going and measured it out, it’s time to assemble the door frame. Be mindful of the placement of the weather stripping and latch hole to ensure they’re on your preferred side of the building. The latch hole and hinges in most door kits are evenly spaced, allowing you to choose which side the door swings and whether it opens in or out.
Once the frame is assembled, stand the frame up on your foundation at the edge of the building. You can use the kit’s supplied threshold to keep it in place or have a helper hold it steady while you mark the centers of each baseplate hole. These are the points where your fasteners will hold your door in place, so pay special attention to ensure your door frame stays flush with the edge of the building.
Once your marks are in place, remove the door frame and drill the holes for your anchors. We recommend drilling down 7-8 inches. Remember to keep your bit as straight as you possibly can to ensure your anchors are properly vertical when installed.

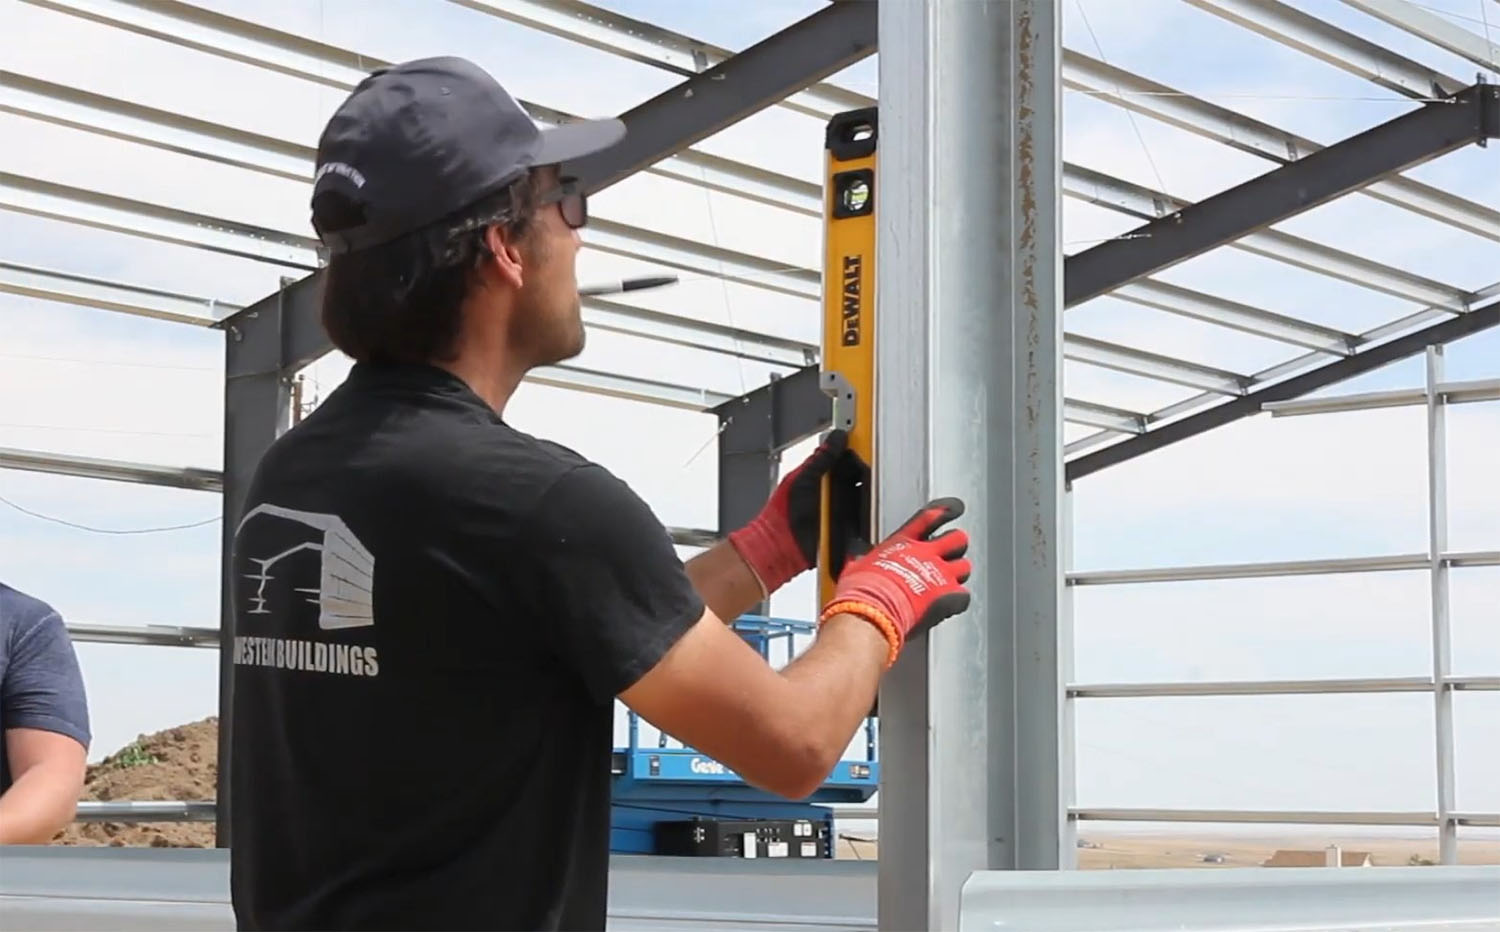
Anchors you use will depend on your building setup, but in many cases, standard wedge anchors are perfectly fine for a personnel door, as it’s not a structural element of the building. Simply stand the door frame back up and install your anchors. Then, using magnetic levels or whatever tool you prfer, check your door frame from plumbness and alignment.

In the case of Great Western Buildings metal building kits, there will almost always be a Girt at 7′ 4″. This allows man doors to easily be fastened at the top to this girt. Simply clamp the door frame in place once it’s plumb and aligned, then fasten the header with pop rivets or trim screws.
We don’t recommend using hex head screws for this portion of the install, as they can get in the way of panel and trim installs later.

It’s finally time to make this door kit an actual door! Install the hinges on the door itself, then, with a helper, install the hinges into the door frame.
When installing hinges, it’s extremely easy to install them backwards. So, take your time when planning it out and slow down a bit so you don’t wind up having to do this step twice. Trust us, we’ve been there plenty of times.
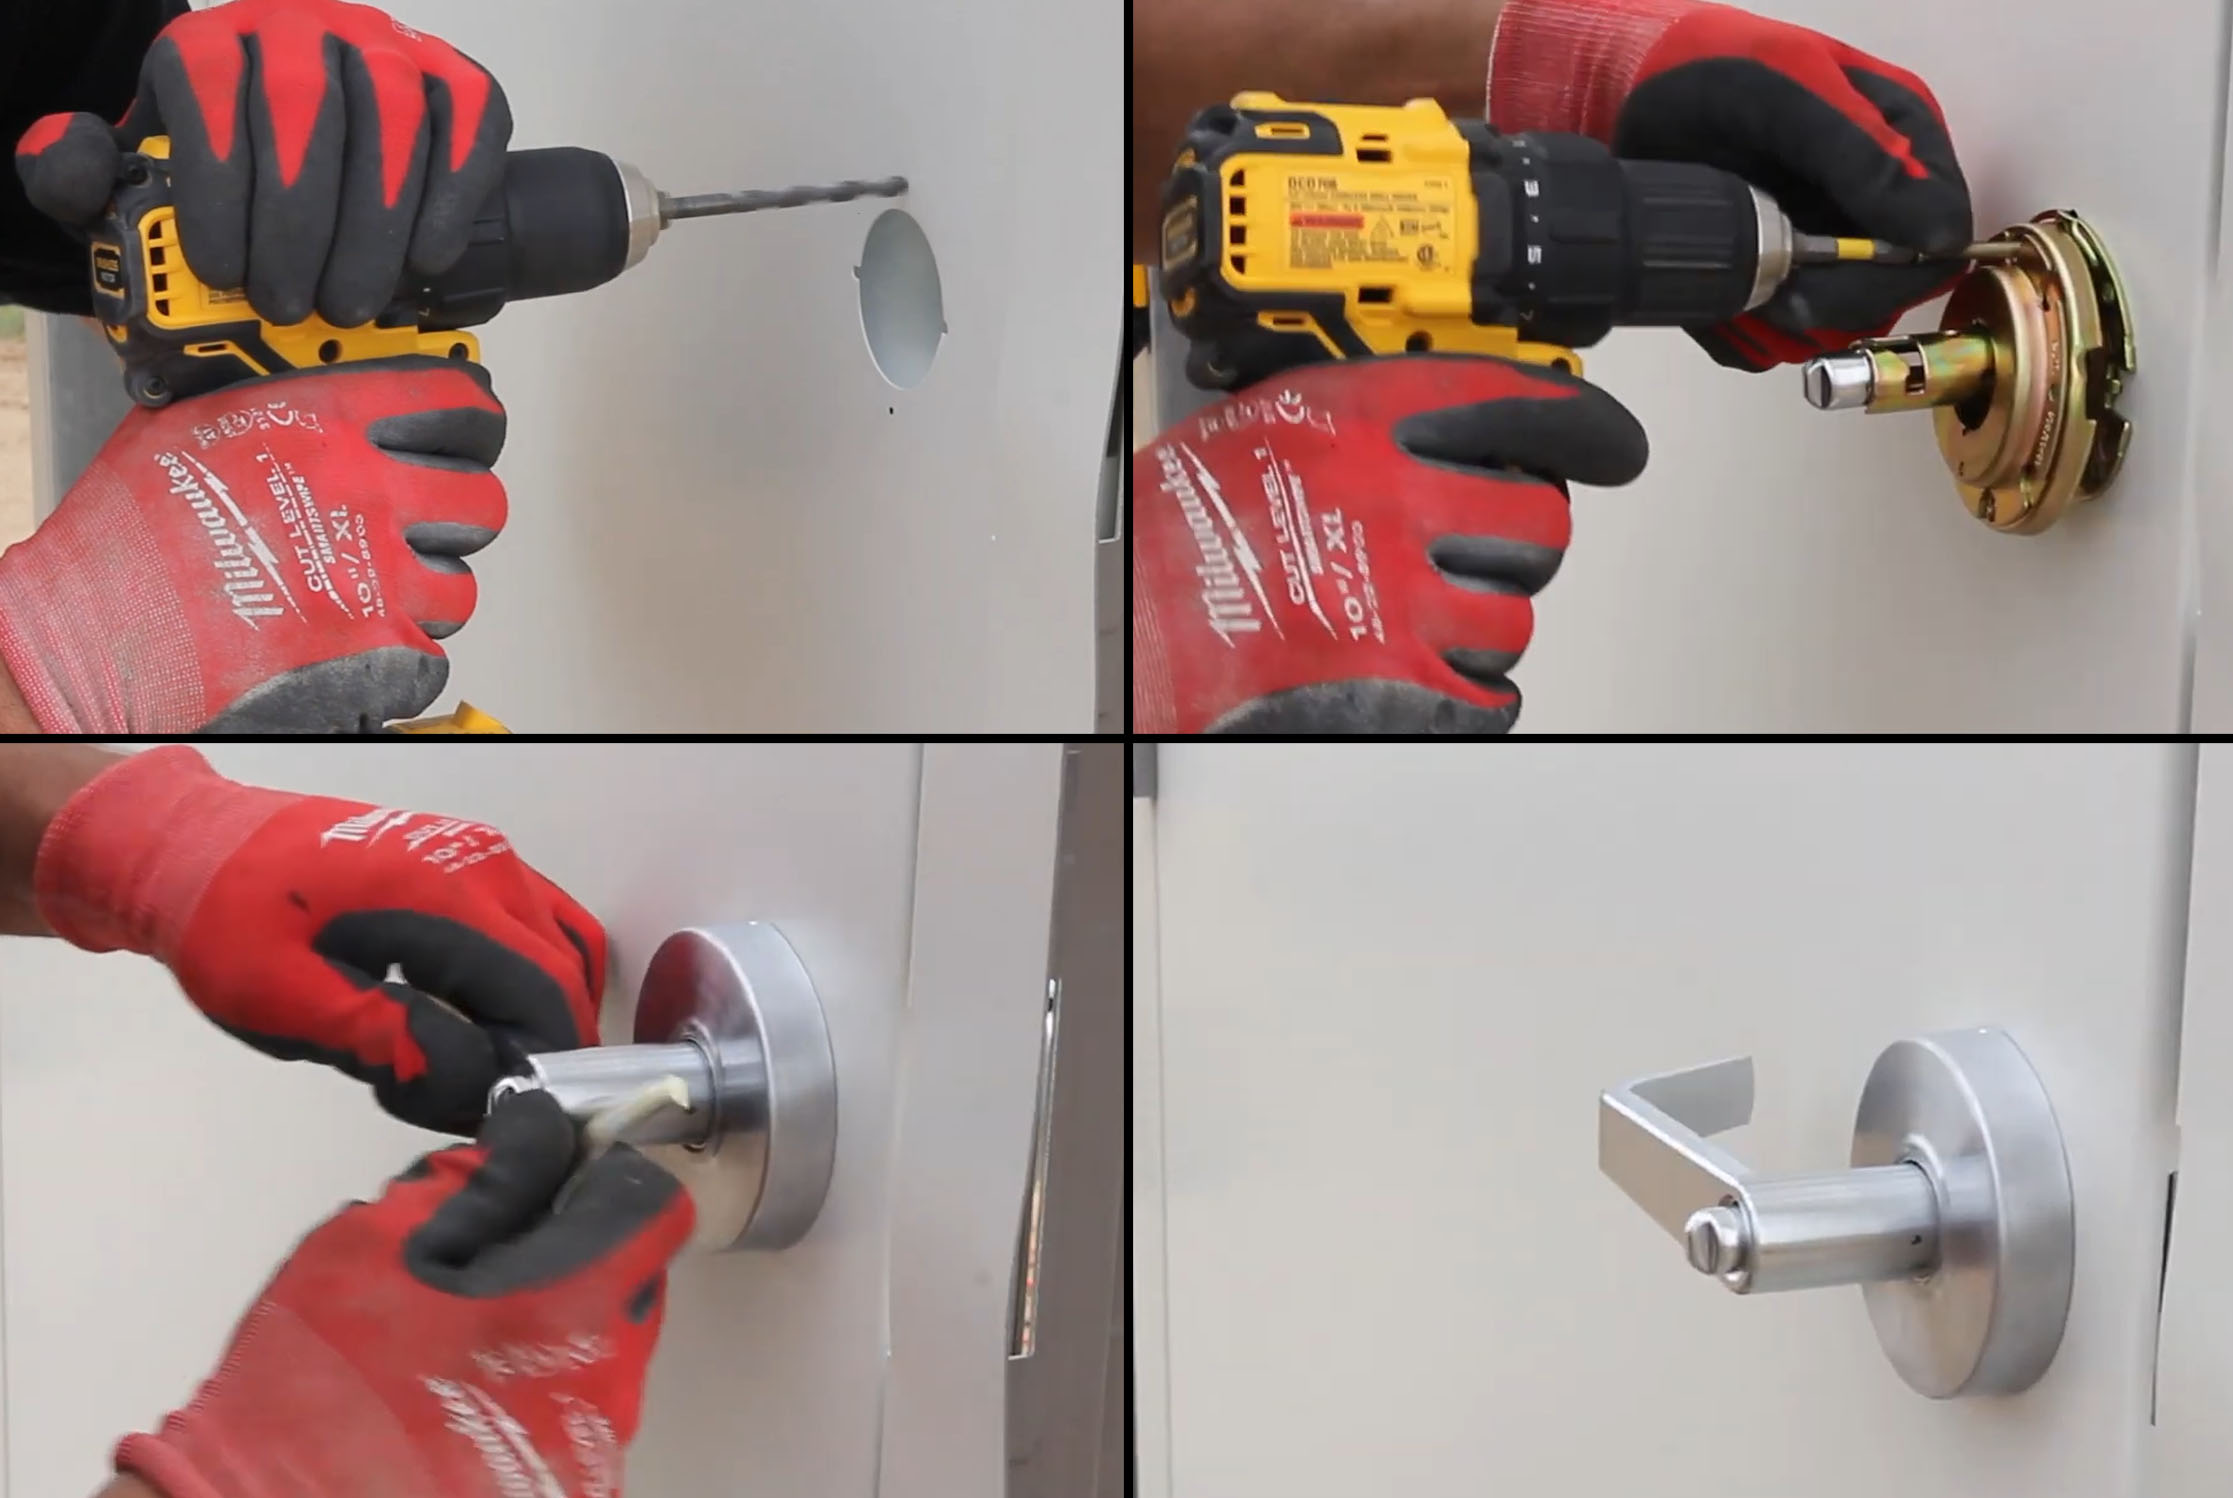
This step varies greatly based on what your preferred lockset and handle assembly is. Some locksets have dead bolts, standard door handles, and a virtually limitless number of other options. So, it’s important to understand what exactly your lock set will require you to do to install.
Once you’ve got that figured out, it’s a somewhat simple process of drilling holes for your lock set and installing it. This is a pretty fiddly task and can get quite aggravating the first few times you do it. So, take your time.
Once your lockset is installed, simply cut to length and install your weather stripping and set your threshold. If you don’t have a low girt, congrats! You’ve just installed your personnel door.

Measure from the holes of the girt’s mounting clips on the building’s columns to the door jamb. We recommend taking this measurement and cutting the girt about 1/4″ short of the measurement to ensure you won’t run into any binding issues with the door from added force or tweaking once the girt is reinstalled.
After cutting and measuring, reinstall the girt on either side of the door. In this case, we used pop rivets to secure the girt to the door frame.
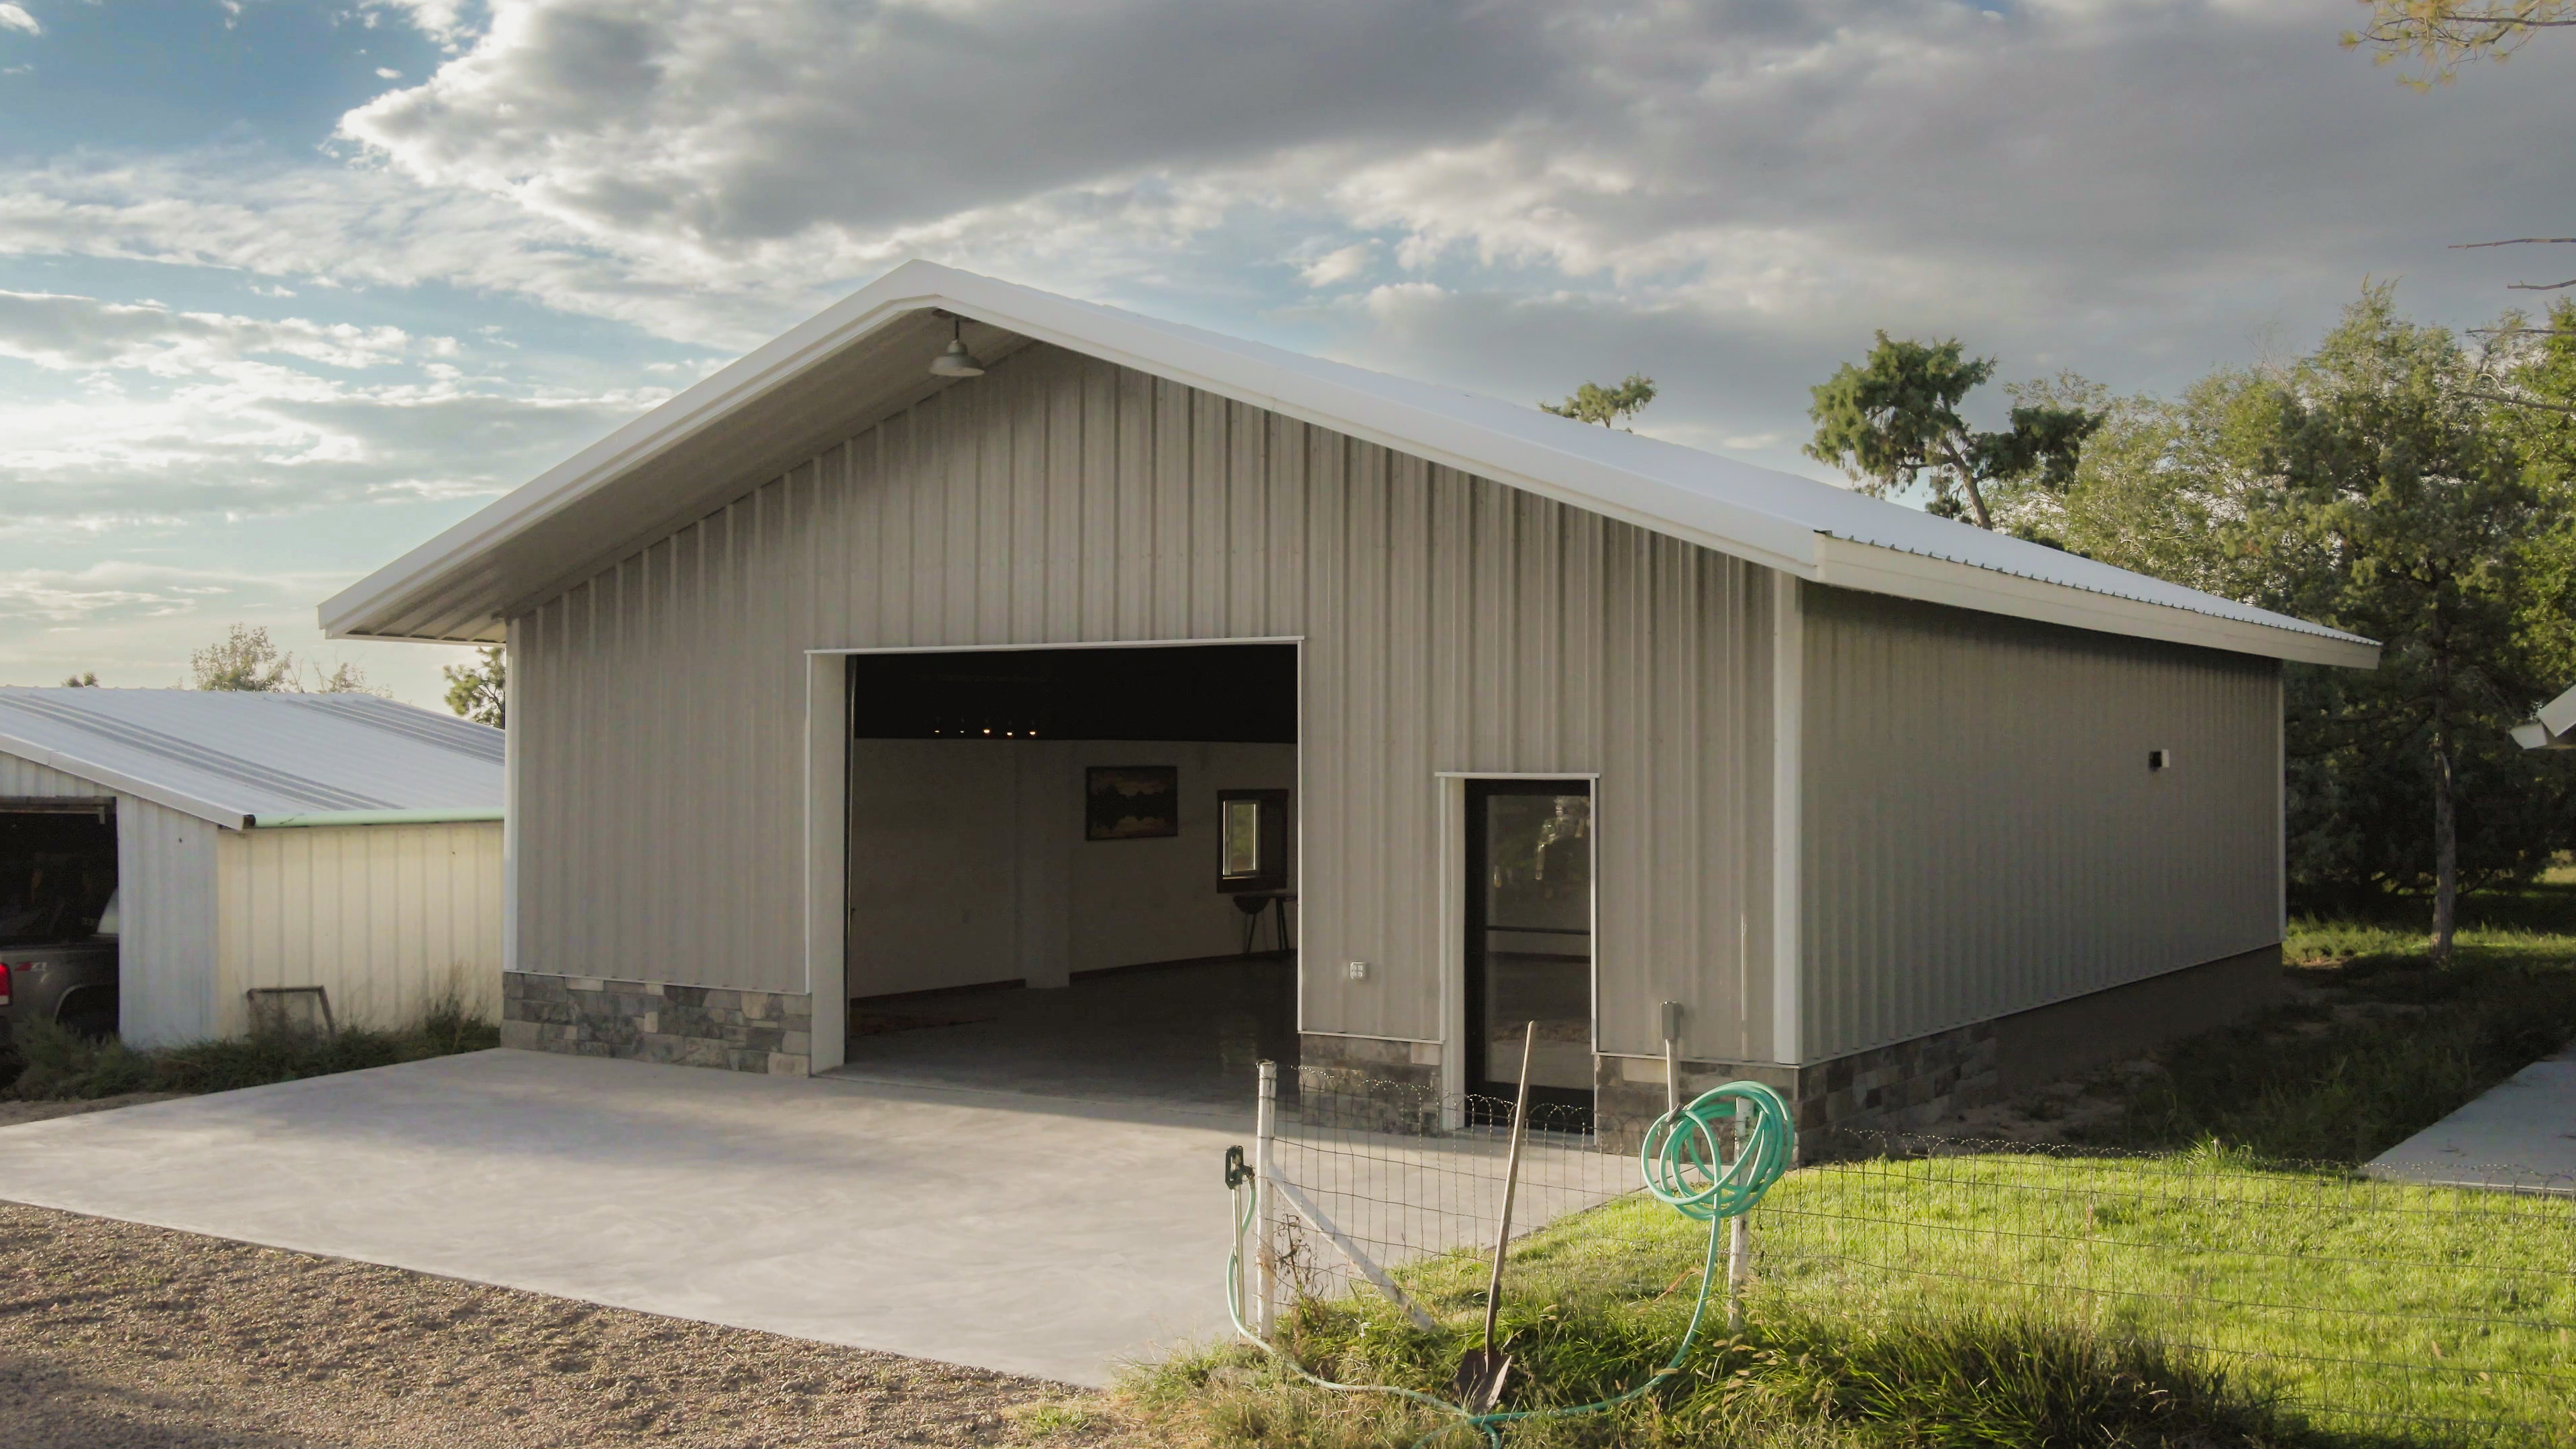
That’s it! Congrats on your personnel door install and enjoy your building!
Looking for a place to start? Our sales team is here to help get you exactly what you need. Whether you’re building a shop, garage, a full-blown residence, or a storage or agricultural building, our steel building kits are your perfect solution. Each one is designed and engineered to meet not only your needs, but your local coding requirements so that you can get the job done right quickly and seamlessly, the first time.
You should receive your estimated quote by email shortly. Please keep in mind that this is just an estimate and does not include snow loads, wind loads, county specific code requirements, delivery or design specific engineering calculations related to the structural soundness of the building.
Would you like a response via text message? Opting into SMS indicates you agree to receive SMS messages regarding your request from Great Western Buildings. Message and data rates may apply. Message frequency may vary. To end messaging from us, you may always reply with STOP. You may also reply with HELP for more information.